![]() ArtistInfo
ArtistInfo
Doctor Who
The Web Of Fear
Album UK 2003 on BBC Radio Collection label
Spoken Word and Soundtrack (Soundtrack, Audiobook, Spoken Word)
First broadcast BBC1 3 February 1968 to 9 March 1968, 6 episodes. Original TV episodes directed by Douglas Camfield and produced by (uncredited on CD) Peter Bryant. Producer's note: The quality of the recording reflects the age of the programmes and the off-air nature of the source material. Whilst every attempt has been made to clean up and remaster these recordings using the latest technology, the sound quality may vary.
Musicians
 | Doctor Who , GB album by |
 | Ron Grainer voc, 1922-1981 AU composed by, title music |
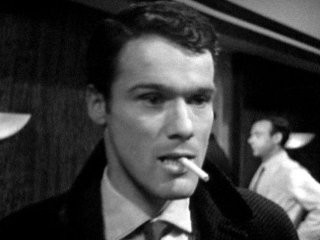
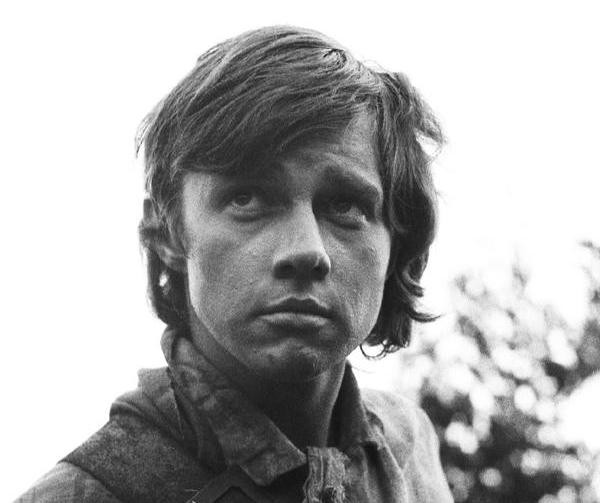 | Frazer Hines , *1944 GB narrator, linking script for audio, voice actor, jamie |
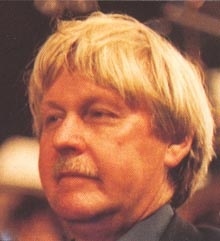
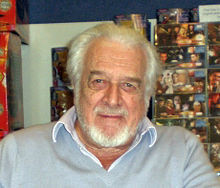
 | Mark Ayres ep, *1961 GB producer, for compact disc, remastered by, digitally remastered for compact disc |
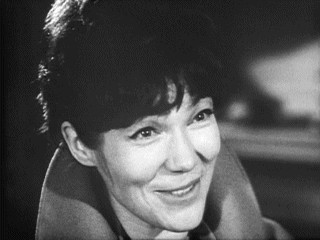 | Tina Packer , *1938 GB voice actor, anne travers |
 | Ralph Watson , *1936 GB voice actor, captain knight |
 | Nicholas Courtney voc, 1929-2011 GB voice actor, col. lethbridge-stuart |
 | Richardson Morgan voice actor, corporal blake |
 | Rod Beacham , 1940-2013 GB voice actor, corporal lane |
 | Stephen Whittaker , 1947-2003 GB voice actor, craftsman weams |
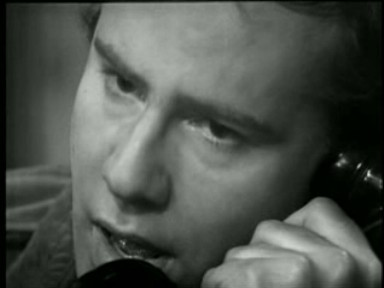
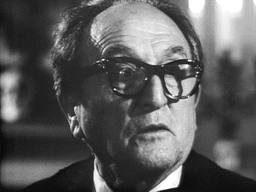
 | Patrick Troughton , 1920-1987 GB voice actor, dr who |
 | Derek Pollitt , 1927-2010 GB voice actor, driver evans |
 | Jon Rollason , *1931 GB voice actor, harold chorley |
 | Frederick Schrecker , 1892-1976 GB voice actor, julius silverstein |
| Bernard G High voice actor, soldiers |
| Joseph O'Connell voice actor, soldiers |
 | Jack Woolgar , 1913-1978 GB voice actor, staff sgt. arnold |
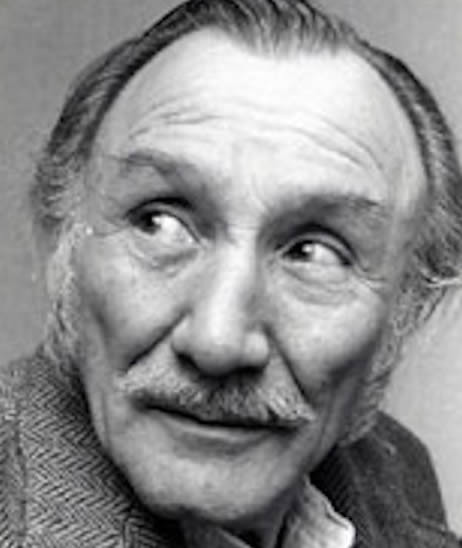
 | Jack Watling , 1923-2001 GB voice actor, travers |
 | Deborah Watling , *1948 GB voice actor, victoria |
| Colin Warman voice actor, yeti |
| Gordon Stothard voice actor, yeti |
| Jeremy King voice actor, yeti |
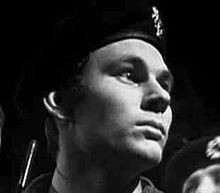
| John Levene voice actor, yeti |
 | John Lord , voice actor, yeti |
| Roger Jacombs voice actor, yeti |
| Sue Cowley written by, linking script for audio |
Producers
| Max Ellis illustration |
Album Tracks
| No | Title | Artist | Composer | Duration |
|---|---|---|---|---|
| 1 | Episode One | Doctor Who | ||
| 2 | Opening Titles | Doctor Who | 0:29 | |
| 3 | Scene 1: TARDIS Console Room | Doctor Who | 1:48 | |
| 4 | Scene 2: Silverstein's Museum, Night | Doctor Who | 4:29 | |
| 5 | Scene 3: TARDIS Console Room | Doctor Who | 1:06 | |
| 6 | Scene 4: TARDIS Exterior | Doctor Who | 0:13 | |
| 7 | Scene 5: TARDIS Console Room | Doctor Who | 0:46 | |
| 8 | Scene 6: Ops Room, Goodge Street Fortress | Doctor Who | 0:13 | |
| 9 | Scene 7: Common Room, Goodge Street Fortress | Doctor Who | 1:57 | |
| 10 | Scene 8: TARDIS Console Room | Doctor Who | 0:31 | |
| 11 | Scene 9: TARDIS Exterior | Doctor Who | 0:11 | |
| 12 | Scene 10: TARDIS Console Room | Doctor Who | 1:14 | |
| 13 | Scene 11: Station Platform, Covent Garden | Doctor Who | 1:33 | |
| 14 | Scene 12: Booking Hall, Covent Garden | Doctor Who | 0:43 | |
| 15 | Scene 13: Station Platform, Covent Garden | Doctor Who | 0:57 | |
| 16 | Scene 14: Tunnel | Doctor Who | 1:48 | |
| 17 | Scene 15: Tunnel (Straight) | Doctor Who | 0:27 | |
| 18 | Scene 16: Tunnel (Curved) | Doctor Who | 0:14 | |
| 19 | Scene 17: Tunnel (Straight) | Doctor Who | 0:31 | |
| 20 | Scene 18: Station Platform, Charing Cross | Doctor Who | 0:34 | |
| 21 | Scene 19: Ops Room, Goodge Street Fortress | Doctor Who | 0:47 | |
| 22 | Scene 20: Station Platform, Charing Cross | Doctor Who | 0:30 | |
| 23 | Scene 21: Corridor And Main Door | Doctor Who | 0:20 | |
| 24 | Scene 22: Ops Room, Goodge Street Fortress | Doctor Who | 1:13 | |
| 25 | Scene 23: Corridor | Doctor Who | 0:16 | |
| 26 | Scene 24: Common Room, Goodge Street Fortress | Doctor Who | 0:19 | |
| 27 | Scene 25: Station Platform, Charing Cross | Doctor Who | 0:21 | |
| 28 | Scene 26: Common Room, Goodge Street Fortress | Doctor Who | 0:26 | |
| 29 | Scene 27: Ops Room, Goodge Street Fortress | Doctor Who | 0:11 | |
| 30 | Scene 28: Station Platform, Charing Cross | Doctor Who | 0:37 | |
| 31 | Episode Two | Doctor Who | ||
| 32 | Opening Titles | Doctor Who | 0:30 | |
| 33 | Scene 1: Ops Room, Goodge Street Fortress | Doctor Who | 0:10 | |
| 34 | Scene 2: Station Platform, Charing Cross | Doctor Who | 0:06 | |
| 35 | Scene 3: Common Room, Goodge Street Fortress | Doctor Who | 0:18 | |
| 36 | Scene 4: Ops Room, Goodge Street Fortress | Doctor Who | 0:46 | |
| 37 | Scene 5: Common Room, Goodge Street Fortress | Doctor Who | 0:53 | |
| 38 | Scene 6: Ops Room, Goodge Street Fortress | Doctor Who | 1:06 | |
| 39 | Scene 7: Station Platform, Charing Cross | Doctor Who | 1:02 | |
| 40 | Scene 8: Laboratory, Goodge Street Fortress | Doctor Who | 0:33 | |
| 41 | Scene 9: Common Room, Goodge Street Fortress | Doctor Who | 1:57 | |
| 42 | Scene 10: Ops Room, Goodge Street Fortress | Doctor Who | 0:58 | |
| 43 | Scene 11: Common Room, Goodge Street Fortress | Doctor Who | 2:12 | |
| 44 | Scene 12: Tunnel | Doctor Who | 2:50 | |
| 45 | Scene 13: Laboratory, Goodge Street Fortress | Doctor Who | 1:17 | |
| 46 | Scene 14: Tunnel (Curved) | Doctor Who | 1:02 | |
| 47 | Scene 15: Ops Room, Goodge Street Fortress | Doctor Who | 1:48 | |
| 48 | Scene 16: Laboratory, Goodge Street Fortress | Doctor Who | 0:29 | |
| 49 | Scene 17: Ops Room, Goodge Street Fortress | Doctor Who | 0:34 | |
| 50 | Scene 18: Tunnel | Doctor Who | 0:19 | |
| 51 | Scene 19: Ops Room, Goodge Street Fortress | Doctor Who | 0:17 | |
| 52 | Scene 20: Tunnel (Y-Section) | Doctor Who | 2:09 | |
| 53 | Scene 21: Ops Room, Goodge Street Fortress | Doctor Who | 0:20 | |
| 54 | Scene 22: Station Platform, Cannon Street | Doctor Who | 0:20 | |
| 55 | Scene 23: Ops Room, Goodge Street Fortress | Doctor Who | 0:34 | |
| 56 | Scene 24: Tunnel (Y-Section) | Doctor Who | 0:17 | |
| 57 | Scene 25: Ops Room, Goodge Street Fortress | Doctor Who | 0:29 | |
| 58 | Scene 26: Station Platform, Monument | Doctor Who | 1:17 | |
| 59 | Episode Three | Doctor Who | ||
| 60 | Opening Titles | Doctor Who | 0:32 | |
| 61 | Scene 1: Station Platform, Monument | Doctor Who | 0:59 | |
| 62 | Scene 2: Tunnel | Doctor Who | 0:56 | |
| 63 | Scene 3: Ops Room, Goodge Street Fortress | Doctor Who | 0:58 | |
| 64 | Scene 4: Common Room, Goodge Street Fortress | Doctor Who | 2:25 | |
| 65 | Scene 5: Laboratory, Goodge Street Fortress | Doctor Who | 0:46 | |
| 66 | Scene 6: Station Platform, St Paul's | Doctor Who | 0:43 | |
| 67 | Scene 7: Ops Room, Goodge Street Fortress | Doctor Who | 1:00 | |
| 68 | Scene 8: Laboratory, Goodge Street Fortress | Doctor Who | 1:14 | |
| 69 | Scene 9: Tunnel (Straight) | Doctor Who | 0:50 | |
| 70 | Scene 10: Common Room, Goodge Street Fortress | Doctor Who | 2:40 | |
| 71 | Scene 11: Ops Room, Goodge Street Fortress | Doctor Who | 0:38 | |
| 72 | Scene 12: Tunnel (Curved) | Doctor Who | 0:46 | |
| 73 | Scene 13: Ops Room, Goodge Street Fortress | Doctor Who | 1:53 | |
| 74 | Scene 14: Corridor And Main Door, Goodge Street Fortress | Doctor Who | 0:12 | |
| 75 | Scene 15: Laboratory, Goodge Street Fortress | Doctor Who | 0:29 | |
| 76 | Scene 16: Corridor, Goodge Street Fortress | Doctor Who | 0:14 | |
| 77 | Scene 17: Tunnel (Straight) | Doctor Who | 0:12 | |
| 78 | Scene 18: Laboratory, Goodge Street Fortress | Doctor Who | 0:17 | |
| 79 | Scene 19: Corridor And Main Door, Goodge Street Fortress | Doctor Who | 0:29 | |
| 80 | Scene 20: Ops Room, Goodge Street Fortress | Doctor Who | 0:43 | |
| 81 | Scene 21: Corridor, Goodge Street Fortress | Doctor Who | 0:27 | |
| 82 | Scene 22: Laboratory, Goodge Street Fortress | Doctor Who | 0:33 | |
| 83 | Scene 23: Ops Room, Goodge Street Fortress | Doctor Who | 1:02 | |
| 84 | Scene 24: Common Room, Goodge Street Fortress | Doctor Who | 1:08 | |
| 85 | Scene 25: Corridor And Main Door, Goodge Street Fortress | Doctor Who | 0:16 | |
| 86 | Scene 26: Common Room, Goodge Street Fortress | Doctor Who | 0:21 | |
| 87 | Scene 27: Laboratory, Goodge Street Fortress | Doctor Who | 0:11 | |
| 88 | Scene 28: Corridor And Main Door, Goodge Street Fortress | Doctor Who | 0:10 | |
| 89 | Scene 29: Ops Room, Goodge Street Fortress | Doctor Who | 0:49 | |
| 90 | Episode Four | Doctor Who | ||
| 91 | Opening Titles | Doctor Who | 0:30 | |
| 92 | Scene 1: Ops Room, Goodge Street Fortress | Doctor Who | 0:25 | |
| 93 | Scene 2: Tunnel (Y-Section) | Doctor Who | 0:17 | |
| 94 | Scene 3: Tunnel (Straight) | Doctor Who | 0:48 | |
| 95 | Scene 4: Tunnel (Curved) | Doctor Who | 1:17 | |
| 96 | Scene 5: Tunnel (Y-Section) | Doctor Who | 0:45 | |
| 97 | Scene 6: Corridor And Main Door, Goodge Street Fortress | Doctor Who | 0:22 | |
| 98 | Scene 7-9: Laboratory And Corridor, Goodge Street Fortress | Doctor Who | 2:12 | |
| 99 | Scene 10: Ops Room, Goodge Street Fortress | Doctor Who | 2:42 | |
| 100 | Scene 11: Common Room, Goodge Street Fortress | Doctor Who | 1:10 | |
| 101 | Scene 12: Laboratory, Goodge Street Fortress | Doctor Who | 1:28 | |
| 102 | Scene 13: Ops Room, Goodge Street Fortress | Doctor Who | 0:40 | |
| 103 | Scene 14: Laboratory, Goodge Street Fortress | Doctor Who | 0:34 | |
| 104 | Scene 15: Main Door | Doctor Who | 0:25 | |
| 105 | Scene 16: Exterior Street | Doctor Who | 0:20 | |
| 106 | Scene 17: Ops Room, Goodge Street Fortress | Doctor Who | 0:46 | |
| 107 | Scene 18: Tunnel (Curved) | Doctor Who | 0:59 | |
| 108 | Scene 19: Street, Covent Garden | Doctor Who | 3:21 | |
| 109 | Scene 20: Electrical Shop, Street Level | Doctor Who | 1:07 | |
| 110 | Scene 21: Ops Room, Goodge Street Fortress | Doctor Who | 0:24 | |
| 111 | Scene 22: Interior Warehouse | Doctor Who | 0:50 | |
| 112 | Scene 23: Laboratory, Goodge Street Fortress | Doctor Who | 2:08 | |
| 113 | Episode Five | Doctor Who | ||
| 114 | Opening Titles | Doctor Who | 0:32 | |
| 115 | Scene 1: Laboratory, Goodge Street Fortress | Doctor Who | 4:37 | |
| 116 | Scene 2: Tunnel (Straight) | Doctor Who | 0:40 | |
| 117 | Scene 3: Laboratory, Goodge Street Fortress | Doctor Who | 1:33 | |
| 118 | Scene 4: Ops Room, Goodge Street Fortress | Doctor Who | 1:02 | |
| 119 | Scene 5: Laboratory, Goodge Street Fortress | Doctor Who | 0:28 | |
| 120 | Scene 6: Surface Door | Doctor Who | 0:40 | |
| 121 | Scene 7: Laboratory, Goodge Street Fortress | Doctor Who | 1:28 | |
| 122 | Scene 8:Ops Room, Goodge Street Fortress | Doctor Who | 0:59 | |
| 123 | Scene 9: Station Platform, Piccadilly Circus | Doctor Who | 0:36 | |
| 124 | Scene 10: Laboratory, Goodge Street Fortress | Doctor Who | 0:54 | |
| 125 | Scene 11: Tunnel | Doctor Who | 1:01 | |
| 126 | Scene 12: Station Platform, Piccadilly Circus | Doctor Who | 1:04 | |
| 127 | Scene 13: Ops Room, Goodge Street Fortress | Doctor Who | 2:07 | |
| 128 | Scene 14: Tunnel (Curved) | Doctor Who | 0:53 | |
| 129 | Scene 15: Station Platform, Piccadilly Circus | Doctor Who | 0:28 | |
| 130 | Scene 16: Ops Room, Goodge Street Fortress | Doctor Who | 0:57 | |
| 131 | Scene 17: Tunnel (Straight) | Doctor Who | 1:39 | |
| 132 | Scene 18: Ops Room, Goodge Street Fortress | Doctor Who | 0:32 | |
| 133 | Scene 19: Laboratory, Goodge Street Fortress | Doctor Who | 0:53 | |
| 134 | Episode Six | Doctor Who | ||
| 135 | Opening Titles | Doctor Who | 0:33 | |
| 136 | Scene 1: Laboratory, Goodge Street Fortress | Doctor Who | 0:04 | |
| 137 | Scene 2: Tunnel | Doctor Who | 0:52 | |
| 138 | Scene 3: Tunnel (Elsewhere) | Doctor Who | 1:07 | |
| 139 | Scene 4: Tunnel (Elsewhere) | Doctor Who | 1:05 | |
| 140 | Scene 5: Tunnel (Elsewhere) | Doctor Who | 0:23 | |
| 141 | Scene 6: Tunnel (Elsewhere) | Doctor Who | 0:43 | |
| 142 | Scene 7: Tunnel (Elsewhere) | Doctor Who | 0:53 | |
| 143 | Scene 8: Tunnel (Y-Section) | Doctor Who | 0:58 | |
| 144 | Scene 9: Booking Hall, Piccadilly | Doctor Who | 2:05 | |
| 145 | Scene 10: Station Platform, Piccadilly | Doctor Who | 0:59 | |
| 146 | Scene 11: Tunnel | Doctor Who | 1:55 | |
| 147 | Scene 12: Station Platform, Piccadilly | Doctor Who | 2:04 | |
| 148 | Scene 13: Passage Off Booking Hall, Piccadilly | Doctor Who | 0:55 | |
| 149 | Scene 14: Booking Hall, Piccadilly | Doctor Who | 0:14 | |
| 150 | Scene 15: Station Platform, Piccadilly | Doctor Who | 1:01 | |
| 151 | Scene 16: Booking Hall, Piccadilly | Doctor Who | 7:17 | |
| 152 | Scene 17: Tunnels | Doctor Who | 0:54 |
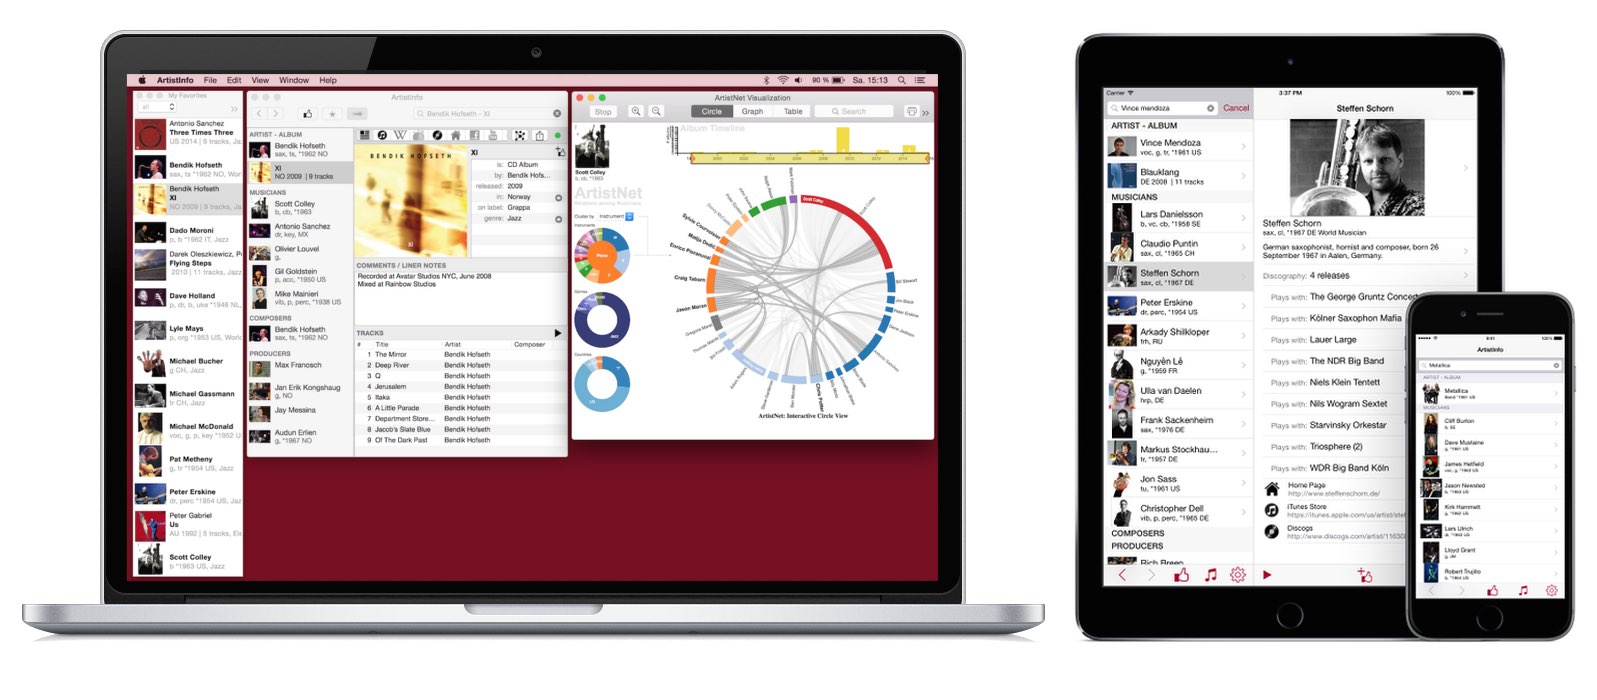
ArtistInfo App
ArtistInfo for iOS and ArtistInfo for Mac are presenting musicians, composers and producers that are envolved in the musical work that you are listening to in Apple Music, iTunes, or Spotify. Discover new music via the network among artists. Manage your favorite musicians and albums via iCloud and share recommendations with your friends via email, AirDrop, or Social Media.Acknowledgements
To all the music fans that are contributing on Discogs, MusicBrainz and Wikipedia. Thanks to Franz Flückiger for providing Storygram used to visualize band membership.ArtistInfo for Mac, iPad, and iPhone
Universal Link: https://music.metason.net/artistinfo?name=Doctor%20Who&title=The%20Web%20Of%20Fear
![]() ArtistInfo by Metason © 2015-2020
ArtistInfo by Metason © 2015-2020
![]()